
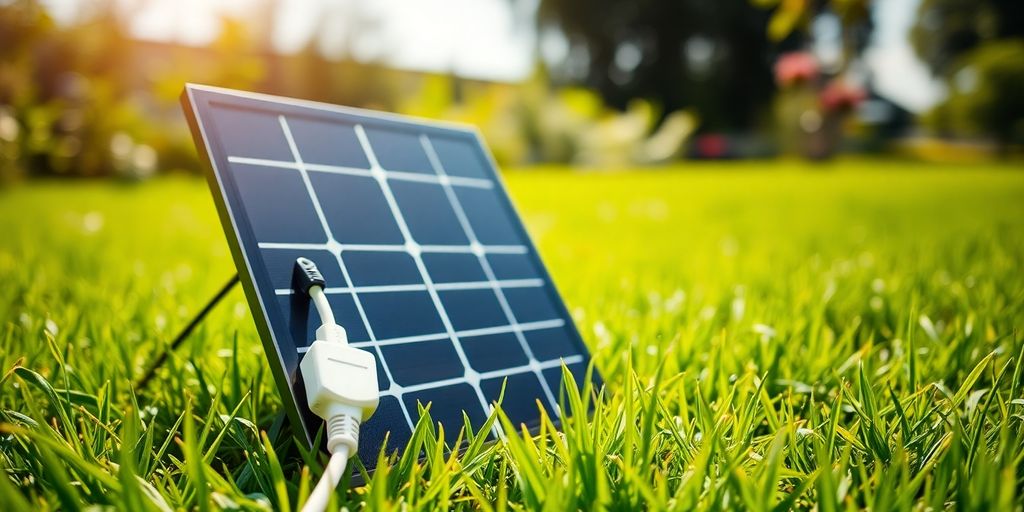
Want to cut your electricity bill and play a part in the energy transition? Plug-in solar panels for a 220V socket are an accessible solution. This article guides you step by step to install your own system, without complications. We’ll look at how a plug-in solar panel for a 220V socket can simplify your energy consumption. Follow this five-step guide for successful, autonomous installation. It’s easier than you think, and it really makes a difference to your budget and the planet.
Key Points
- A plug-in solar panel for a 220V socket lets you produce your own electricity for immediate consumption.
- Installation is simple and doesn’t require major work or in-depth technical knowledge.
- The micro-inverter is a central element, converting the direct current from the panels into alternating current compatible with your domestic grid.
- A protection box is essential to guarantee the safety of your electrical installation.
- The connection plug ensures direct connection of your system to a standard socket in your home.
1. Solar panels
Solar panels are the basis of the whole system. Without them, there’s no free electricity! There are different types of panels, each with its advantages and disadvantages. We’ll take a quick look at them so you can choose the right one.
Basically, a solar panel captures sunlight and turns it into electricity. It’s a bit like magic, but with technology. And with a plug-and-play solar kit, it’s even simpler!
It’s important to choose your solar panels carefully, as it’s a long-term investment. A good panel, well maintained, can last for decades.
There are several things to consider: power, efficiency, size, price and, of course, quality.
Here are a few types of solar panel you might come across:
- Monocrystalline: These are the most efficient, but also the most expensive. They’re perfect if you have limited space on your roof.
- Polycrystalline: A little cheaper than monocrystalline, they’re a good compromise between price and performance.
- Amorphous: Less efficient, but also less expensive. They’re often used for small installations, such as solar panels for electric cars.
And then there are bifacial panels, which capture light from both sides! Not bad, eh?
Speaking of power, a single 400 Wp module may be enough to get you started. But if you want to power a thermodynamic water heater, you’ll need more. Bear that in mind!
Finally, don’t forget maintenance. A quick wipe with a cloth from time to time, and you’re good to go! And if you opt for a plug and play solar installation, ground mounting will make maintenance much easier.
2. Socket
The socket stage is crucial to ensure a safe and compliant connection of your solar panel to your electrical installation. It’s not just a matter of plugging in an appliance, it’s about guaranteeing the safety of your installation and complying with current standards.
It’s important to understand the specifications of your micro-inverter and the socket being used. A poor connection can lead to malfunctions or even fire hazards.
It’s essential to check the compatibility between the power of your solar panel and the capacity of the socket. An overload can damage your electrical installation and present a hazard.
Here are a few points to consider:
- Socket type: Make sure you use a standard 220V socket that complies with British standards.
- Maximum power: Check that the socket can handle the maximum power delivered by the micro-inverter.
- Socket condition: Inspect the socket for any signs of damage or corrosion.
- Protection: Use a socket with surge protection to protect your installation.
The installation of domestic heating can be optimised by following these steps precisely. For easy installation, you can consider plug & play solar kits. If you opt for a kit such as the SUNOLOGY PLAY2, make sure you understand the instructions provided for a safe connection.
3. Micro-inverter
The micro-inverter is an essential component in a plug-in solar panel system for a 220V socket. It converts the direct current (DC) produced by the solar panel into alternating current (AC) compatible with the domestic electricity grid. It’s a bit like a translator that allows solar energy to speak the same language as your electrical appliances.
It’s important to understand its role and how it works for an efficient and safe installation. The micro-inverter should be chosen according to the power of the solar panel and current safety standards.
The micro-inverter is usually attached directly to the back of the solar panel, which simplifies installation and allows individual management of each panel. This means that if one panel is shaded or defective, it won’t affect the performance of the other panels in the system.
Here are a few points to consider when choosing a micro-inverter:
- Power: Make sure the power of the micro-inverter matches that of the solar panel.
- Safety: Check that the micro-inverter complies with current safety standards (e.g. VDE 0126-1-1 in Europe).
- Warranty: Opt for a micro-inverter with a warranty of at least 10 years.
Installing a micro-inverter is a crucial step. It’s recommended that you follow the manufacturer’s instructions carefully and call in a professional if you’re not sure. Correct installation guarantees the safety and performance of your solar system. For a successful installation, you can consult a photovoltaic solar panel installation guide.
Speaking of performance, it’s important to note that the micro-inverter plays a role in optimising energy production. Unlike central inverters, micro-inverters maximise the production of each panel individually. This is particularly advantageous in situations where panels are exposed to variable shading conditions.
Here’s a simplified comparison table of the advantages and disadvantages of micro-inverters compared to central inverters:
| Feature | Micro-inverter | Central inverter |
|---|---|---|
| Optimisation | Individual per panel | Global for the whole system |
| Sensitivity to shading | Low | High |
| Installation | Simpler | More complex |
| Cost | Higher | Lower |
In short, the micro-inverter is a key element in transforming solar energy into usable electricity in your home. Its selection and installation must be carried out with care to guarantee optimum and safe operation of your solar system. Don’t forget to check the compatibility of the micro-inverter with your installation.
4. Box
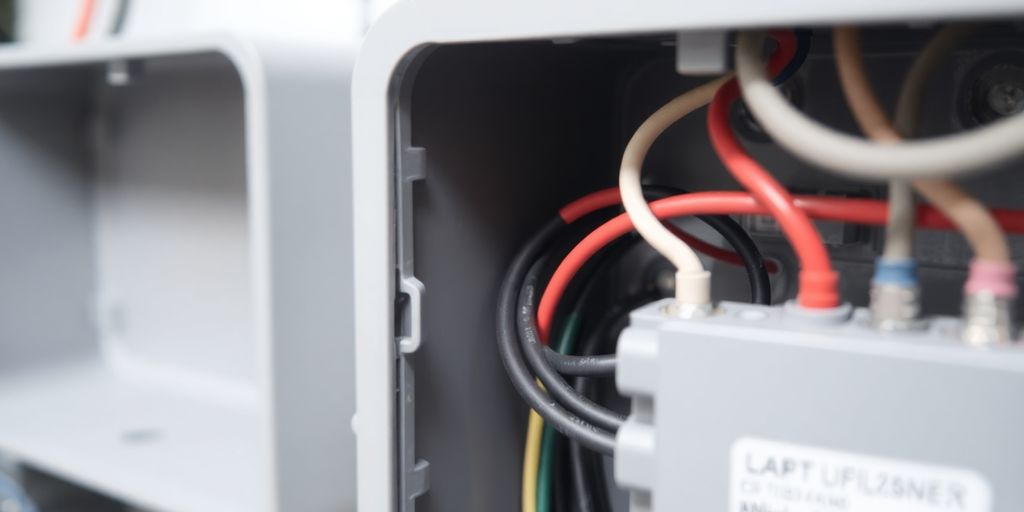
The protection box is an essential element for the safety of your plug-in solar installation. It provides protection against overcurrents and short circuits, protecting your installation and your home. It’s a bit like insurance for your solar system: better to have it and not need it, than the other way around.
The installation of a protection box is strongly recommended, or even compulsory in certain configurations, to comply with current electrical safety standards. Don’t neglect this aspect, as your safety and the long-term viability of your installation depend on it.
Here are a few points to consider regarding the protection box:
- Type of protection: Make sure the box offers protection against overcurrents (circuit breaker) and overvoltages (surge arrester).
- Calibration: The circuit breaker must be calibrated to suit the power of your solar installation. A professional can help you determine the appropriate calibration.
- Standards: Check that the box complies with current electrical safety standards (e.g. BS EN 61439-3).
Basically, the box is the part that stops your plug-in solar installation from setting fire to your house. It’s not super sexy, but it’s super important. Think of it as a giant fuse, but better.
And let’s be honest, no one wants to end up with an astronomical electricity bill because of a short circuit. The box is also a way to sleep soundly at night.
5. Plug
The last step, but by no means the least, is to make sure the plug is correctly installed and connected. This is what will allow your installation to send the electricity produced back to your grid.
Plug installation
Installing the plug is quite simple. You need to make sure that the earth wire is properly positioned in the middle of the plug. For the line and neutral, the order doesn’t matter.
Types of plugs
There are two main types of plug for connecting your solar panel to your 220V socket: the Schuko plug and the Wieland plug. The Schuko plug is the most common, but the Wieland plug is considered safer by some professionals. The choice will depend on your preferences and the standards in force in your region. It’s important to note that, according to the VDE, the use of the Schuko plug isn’t always compliant with standards, but it remains a common option and is considered safe by many consumer associations. For a profitable photovoltaic project, it’s important to find out about the standards in force.
Safety and precautions
Safety is paramount when handling electricity. Here are a few precautions to take:
- Always switch off the power before handling wires.
- Use insulated tools to avoid electric shocks.
- Check that the plug is properly connected and that there are no bare wires.
It’s strongly recommended that you have your installation checked by a qualified professional before putting it into service. This will ensure that everything complies with safety standards and that your installation is working correctly. Don’t hesitate to call an electrician for added safety. Solar panels with micro-inverters are designed to be easy to install, but caution is still required.
By following these steps, you should be able to connect your solar panel to your 220V socket safely and start producing your own electricity. Remember that regulations may vary, so check carefully before you start. And if you have any doubts, call in a professional. Also consider the nomadic applications of flexible solar panels, which can be an interesting alternative for more mobile use.
To find out more about this exciting subject, don’t hesitate to visit our website. You’ll find a wealth of additional information to help you better understand the issues. Click here to explore further!
In summary
Setting up a plug-in solar panel for a 220V socket is a simple way to start producing your own electricity. By following the steps outlined, even without being an expert, you can do it. It’s a practical solution for reducing your electricity bill and doing something for the environment. With a little preparation and the right information, everyone can take part in the energy transition, without embarking on major works.
Frequently Asked Questions
What is a plug-in solar panel for a 220V socket?
A plug-in solar panel is a simple system that lets you produce electricity at home. It generally consists of a solar panel, a micro-inverter and a cable with a standard plug. Simply plug it into a standard power socket and it starts producing energy.
How do I install a plug-in solar panel?
Installation is very simple. After attaching the panel (to the ground, a wall or a balcony), you connect the micro-inverter to the panel, then plug the whole thing into a wall socket. The electricity produced is then injected directly into your domestic grid.
How does the electricity produced by these panels work?
These panels are designed for self-consumption. The electricity produced is used as a priority by your electrical appliances. If production exceeds your needs, the surplus is generally injected into the public grid. Some models let you track production via an app.
Do I need permission to install a plug-in solar panel?
Yes, in the UK, you need to declare your installation to your local Distribution Network Operator (DNO). This process is simplified for small installations such as plug-in kits. You should also check local planning rules if the panel is visible from the outside.
Is installing a plug-in solar panel cost-effective?
Profitability depends on several factors: your electricity consumption, the amount of sunshine in your area, the price of electricity and the cost of your kit. Generally, these systems reduce your electricity bill and do something for the environment. The return on investment is often quick.
What is the lifespan of this equipment?
The lifespan of a solar panel is around 25 to 30 years. The micro-inverter has a slightly shorter lifespan, around 10 to 15 years. This equipment is designed to withstand the elements and requires little maintenance.
Are there any electrical risks with a plug-in solar panel?
No, these systems are designed to be safe. The micro-inverter converts the direct current from the panel into alternating current compatible with your electrical installation. What’s more, protection is built in to prevent any danger in the event of a problem on the grid.
Can I add more solar panels later?
Yes, that’s perfectly possible. You can start with one or two panels, then add more later if your needs increase. Just make sure your electrical installation can handle the added power and that the micro-inverters are compatible.