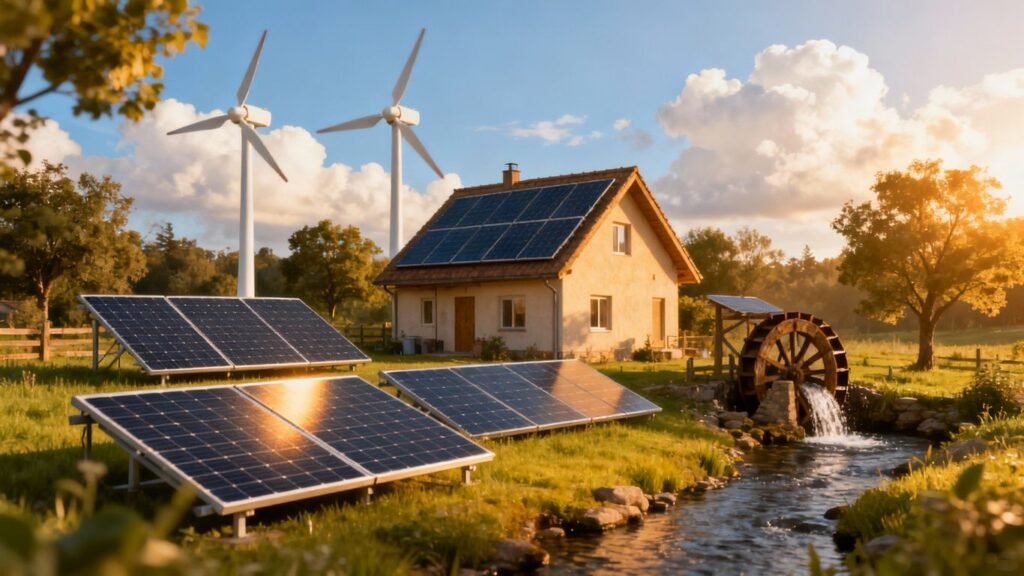
Producing your own electricity at home isn’t just for experts. Many people are looking for ways to generate electricity at home, especially with rising energy prices. Of course, some preparation is needed, and every step matters. You can start small, with a few solar panels, or go further with a wind turbine and a full system. This guide presents the 7 key steps to get started, keeping it simple and accessible to everyone.
Key points to remember
- The installation of solar panels is often the first step towards producing electricity at home.
- A domestic wind turbine can complement production, especially in windy areas.
- A charge controller protects the batteries and ensures stable system operation.
- The storage battery allows you to use electricity even when there is no sun or wind.
- A monitoring system helps you keep track of production and quickly detect any issues.
1. Photovoltaic solar panels
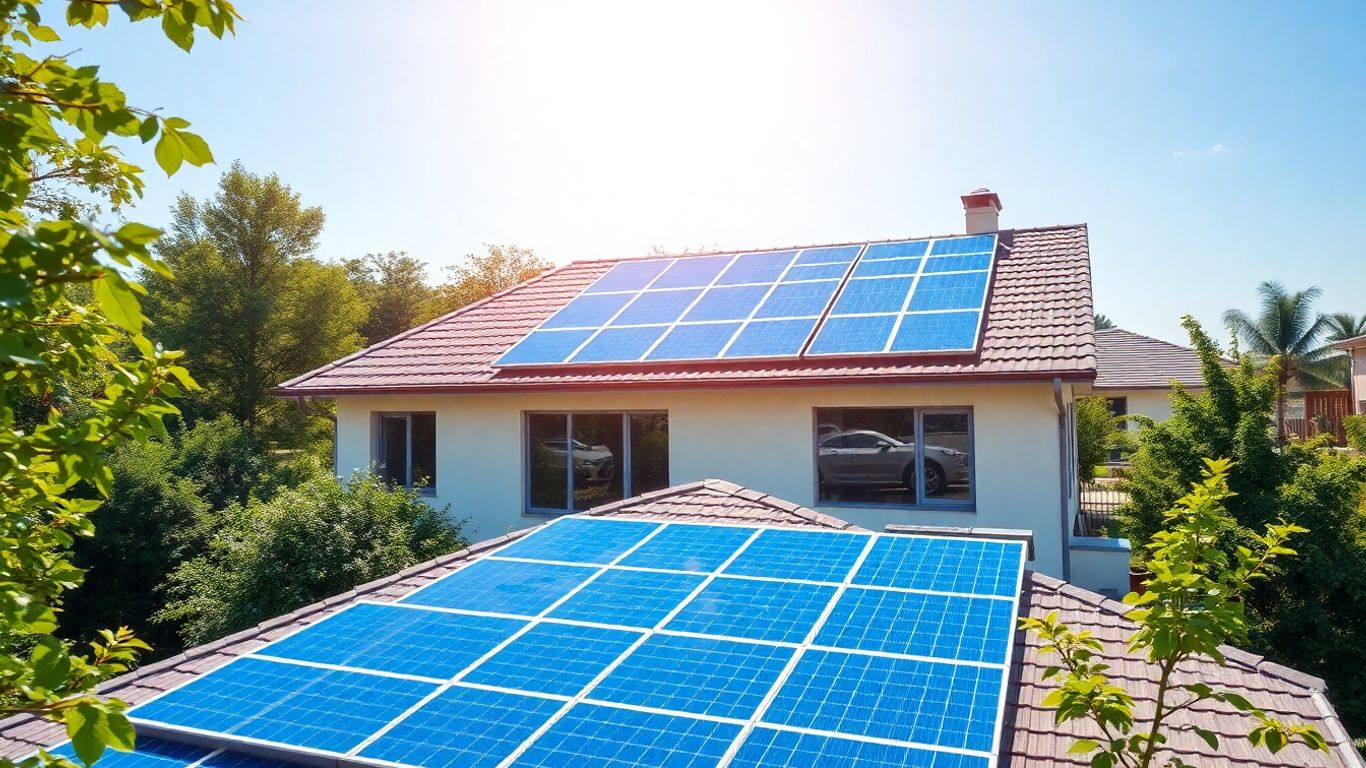
Photovoltaic solar panels are the essential first step in generating electricity at home. Their main role is to transform sunlight directly and silently into electricity. Today, mounting on the roof in overlay is the most common method, as it offers an excellent compromise between ease of installation and energy efficiency. The available roof space, or if not possible, installation on a solar pergola or carport, remains a key aspect of the project.
You will mainly find three major families of photovoltaic panels:
- Monocrystalline panels: Highly efficient, even in low sunlight, but more expensive.
- Polycrystalline panels: Good value for money, suited to large areas, slightly lower performance.
- Amorphous panels: Lightweight and flexible, they take up more space for lower yield.
| Panel type | Average efficiency (%) | Relative cost | Main advantage |
|---|---|---|---|
| Monocrystalline | 18 to 22 | High | Excellent performance |
| Polycrystalline | 15 to 18 | Moderate | Good cost/efficiency ratio |
| Amorphous (thin film) | 7 to 13 | Low | Lightweight, can fit anywhere |
A choice suited to your geographical situation and budget will optimise the return on your solar installation, while encouraging better self-consumption of the electricity produced.
The efficiency of these panels depends on several technical factors (technology, orientation, cleanliness). For more details on the performance factors, see this detailed article on the performance of a photovoltaic panel.
2. Domestic wind turbine
The installation of a domestic wind turbine allows you to harness the power of the wind, directly converted into usable electricity at home. This device is an option to consider if your area benefits from regular winds, with speeds at or above 20 km/h.
To start, it is recommended to:
- Check the local regulations regarding installation, as a permit may be required depending on the height of the wind turbine.
- Accurately measure the wind speed on your property. A professional or specialised maps can help with this key step.
- Adjust the diameter of the blades to your annual consumption, as this directly affects the amount of electricity produced.
Avoid installing a wind turbine on a roof: this reduces efficiency and increases noise disturbances. Instead, install it on a mast, ensuring it is at least 10 m higher than the tallest nearby structure to ensure proper airflow capture.
Table: Links between wind speed, rotor diameter and production
| Wind speed (km/h) | Rotor diameter (m) | Estimated production (kWh/year) |
|---|---|---|
| 15 | 2.5 | 3,000 |
| 20 | 3 | 7,000 |
| 24 | 4 | 13,000 |
If your production exceeds your needs, it is sometimes possible to sell the surplus to the grid under arrangements provided for in France, particularly via some suppliers who offer long-term financial visibility, such as the SAS ENR with EDF ENR model.
Installing a wind turbine at home requires careful planning, from site selection to connection to the domestic grid. It is best to delegate the electrical connection to a professional to ensure the safety and compliance of the installation.
3. Charge controller
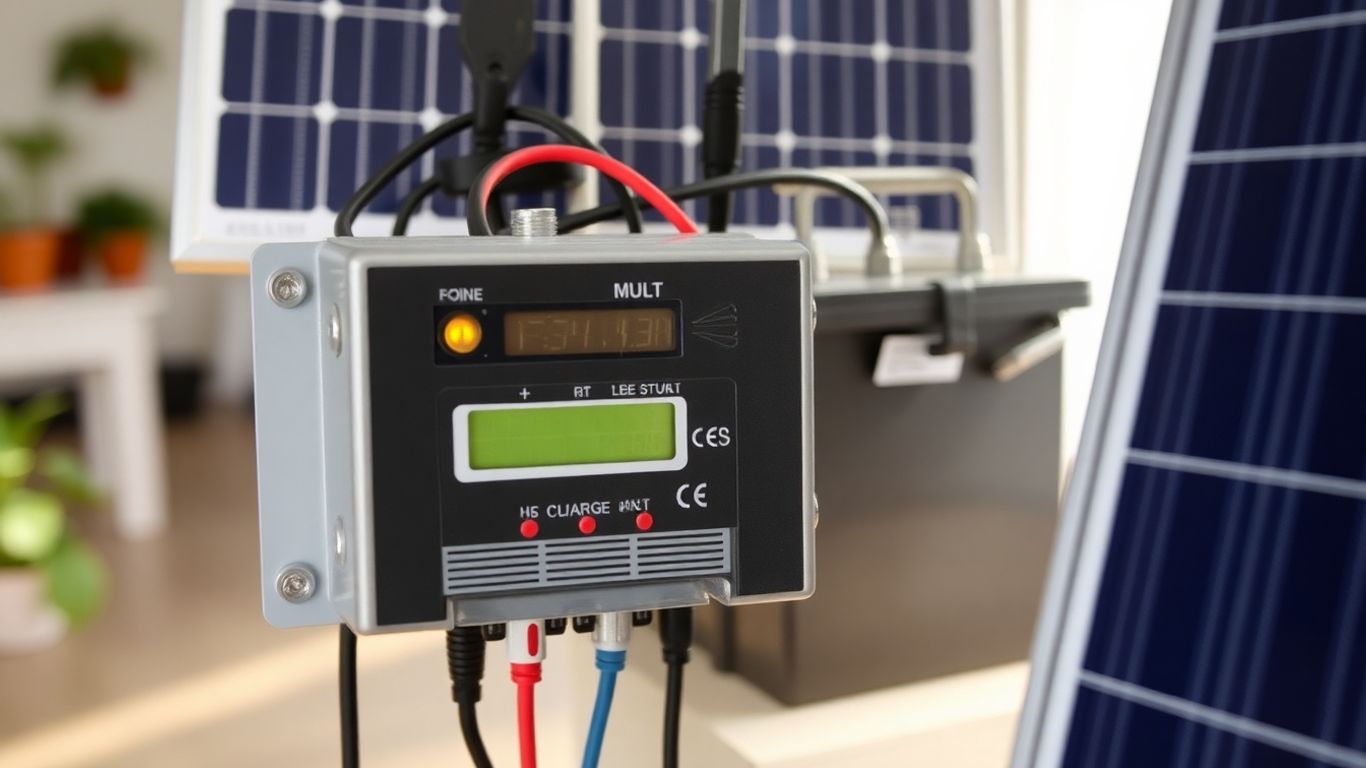
The charge controller plays a central role in an off-grid electricity system. It protects your battery against overcharging and excessive discharge. Many people think that panels and batteries are enough, but without a charge controller, your storage lifetime could be halved. Its job is to constantly adjust the amount of energy sent to the battery, optimising its efficiency and limiting risks.
Choosing an appropriate charge controller depends on the capacity of your panels and batteries, as well as your system’s requirements. Here is what you need to pay attention to:
- Controller’s amp capacity (must match the maximum current produced by your panels)
- Type of controller: PWM (cheaper, suitable for small systems) or MPPT (better efficiency, higher investment)
- Compatibility with your batteries’ voltage (12V, 24V, 48V, etc.)
- Built-in protection against short circuits or reverse polarity
Also, it is advisable to check for status indicators, or even connectivity options that allow remote monitoring—a bonus for keeping an eye on your system’s condition.
Never overlook the controller in a domestic photovoltaic system: it is the link between production and storage, and without it, your batteries’ safety can very quickly be compromised.
For those wanting to know more about how this component protects the battery, some technical clarification is presented in this article on the operation of the charge controller.
4. Storage battery
The storage battery plays a central role in any home electricity installation powered by renewable sources. Without it, it is impossible to store the energy produced when sun or wind is available to use later. The choice of battery type directly affects the reliability and longevity of your system.
There are mainly three types of batteries suitable for residential self-production:
- Lead-acid: affordable and proven, but require maintenance and have a shorter lifespan.
- Lithium-ion: higher cost, optimised performance, lightweight and more durable.
- AGM/Gel: maintenance-free, safe, resistant to leaks.
| Battery type | Advantages | Limitations |
|---|---|---|
| Lead-acid | Affordable price | Shorter lifespan |
| Lithium-ion | Long lifespan | High price |
| AGM/Gel | Maintenance-free | Limited capacity |
Before selecting a battery, you need to accurately calculate the daily electricity consumption. Add up the consumption of your devices, then add a margin for unexpected needs. This calculation serves as a reference to determine the required storage capacity and to size your installation optimally.
Consider placing the batteries in a ventilated area, at a stable temperature, protected from humidity and direct sunlight. A controlled environment limits performance reduction and the risk of overheating, as highlighted in this overview of storage solutions.
- Regularly check battery charge levels and physical condition.
- Label them with their installation date to ease maintenance.
- Use suitable cables and secure fixings for greater safety.
An undersized battery leads to frequent blackouts. Conversely, oversizing without analysis unnecessarily increases costs.
Technology is advancing and new alternatives are emerging, paving the way for systems that are ever safer, easier to maintain, and better suited to managing peaks in home production.
5. Solar inverter
The solar inverter plays a central role in the installation of a domestic photovoltaic system. It transforms the direct current from the solar panels into alternating current, which powers household appliances in the home. Without it, it is impossible to use the electricity produced by your panels directly, as most household equipment requires a stable and suitable alternating voltage.
The inverter also performs other important functions:
- It protects the system from power surges or electrical faults.
- It optimises the conversion efficiency, reducing energy losses.
- Some models allow you to feed surplus into the national grid or communicate with batteries.
Here’s a quick overview of features to look for when choosing an inverter:
| Criteria | What to check |
|---|---|
| Nominal capacity | Match with the panels’ power |
| Efficiency | Above 95% |
| Type | Central inverter or micro-inverter |
| Features | Protection, production monitoring, battery compatibility |
A well-sized inverter ensures system safety and efficiency. It’s important to check compatibility with the total power and all equipment, especially if your installation is designed for self-consumption or includes battery storage. For more on how this key part works, see this article on solar inverters for homes.
A reliable inverter reduces the risk of energy loss and makes solar electricity truly accessible, without apparent technical complexity for the user.
6. Suitable electrical wiring
Suitable electrical wiring plays a decisive role in the performance and safety of your home solar installation. Choosing the cross-section and type of cable according to the installed power limits losses and the risk of overheating. To begin, you need to take into account the current to be carried, the distance between devices (panels, batteries, inverter) and compliance with current regulations.
First of all, you should:
- Draw a clear system diagram and accurately note down each planned connection.
- Use cables designed specifically for direct current when connecting panels, batteries and controller; for the inverter to the board, an alternating current cable is required.
- Check compatibility with all connectors (MC4 type for panels, ring lugs for batteries).
Overview table of recommended cross-sections (for common solar systems):
| Length (m) | Current (A) | Recommended cross-section (*) |
|---|---|---|
| 5 | 10 | 2.5 mm² |
| 10 | 20 | 6 mm² |
| 20 | 30 | 10 mm² |
(*) Adjust according to the actual power of your installation and the exact distance.
Don’t forget that watertightness is essential if part of the wiring runs outside, especially where cables enter the house. The use of cable glands, rubber grommets and silicone sealant prevents moisture and protects the components. This care also applies to junction boxes which, if not properly insulated, can quickly become weak points.
In practical implementation, remember to:
- Cut each cable precisely to the needed length, but allow a little extra to be able to reposition items if needed.
- Crimp or solder connectors properly to the ends, then insulate each joint with heat-shrink tubing.
- Clearly identify each cable, specifying its function (e.g. “panel to controller”, « battery to inverter ») to facilitate inspection and maintenance.
To avoid outages, losses or extra costs due to an incorrectly sized installation, take the time to adapt the connection capacity to your needs.
Finally, test all connections once the wiring is complete. A multimeter allows you to check electrical continuity and avoid any nasty surprises before powering up the system. Well-optimised wiring is more than a matter of safety: it is the key to enjoying your energy independence to the fullest.
7. Production monitoring system
A production monitoring system lets you track in real time the amount of electricity generated, stored, and consumed at home. This is a key step to optimise your installation’s efficiency and anticipate potential malfunctions.
Integrating monitoring tools, whether analogue or digital, makes it easier to adjust your consumption to real production and to weather conditions. More and more systems are adopting connected solutions, displaying data via a mobile app or online dashboard. This not only allows the user to observe performance, but also to receive alerts in case of anomalies (losses, reduced output, overload, etc.).
Here are some components commonly found in these monitoring systems:
- Voltage and current sensors to measure produced and consumed electricity
- A communication module for remote access (Wi-Fi or wired)
- Data visualisation software (dashboard, history, alerts)
| Function | Main benefit |
|---|---|
| Daily monitoring | Keep an eye on production and consumption |
| Automatic alerts | Be quickly informed in case of a problem |
| Performance history | Monitor changes over several months |
Thorough monitoring of electricity production makes it possible to quickly detect any decrease in performance or failure, thus limiting the risk of reduced independence and efficiency over time.
Monitoring your energy production is important for checking that your panels are working well every day. Thanks to simple tools, you can see in real time how much electricity is being produced. Want to know more? Discover all our tips on our website!
Conclusion
Producing electricity at home is not just for experts or large companies. With a bit of preparation, patience, and the right tools, anyone can get started. The steps can be long, it’s important to do your research, compare solutions, and don’t hesitate to ask professionals for advice if needed. It’s not always simple—there are administrative steps, technical choices to make, and sometimes unexpected issues. But once the system is in place, you get real satisfaction. You see your consumption differently, you learn to manage energy better, and you make a tangible gesture for the environment. If you’re still hesitating, start small, try a solar installation for a few devices, then expand over time. The important thing is to move at your own pace and stay curious. Good luck with your self-production electricity project!
Frequently Asked Questions
What are the advantages of generating your own electricity at home?
Generating your own electricity reduces your energy bills, lowers your environmental impact, and makes you more independent from the national grid. It also allows you to benefit from clean, renewable energy.
Do you need a permit to install solar panels or a wind turbine at home?
Yes, you often need to request permission from the local council before installing solar panels or a wind turbine. The rules vary according to the region and the size of the installation.
What is the difference between an inverter and a charge controller?
The charge controller protects the battery by controlling how much electricity goes into it, while the inverter transforms the direct current from the batteries into alternating current usable in the house.
How many solar panels do you need to power a house?
The number of panels depends on your home’s electricity consumption and the sunlight in your area. Generally, you need between 10 and 20 panels for an average house.
How can the electricity generated be stored?
The electricity produced can be stored in special batteries. These batteries keep the energy for later use, such as at night or when there is no sun or wind.
Can you sell the electricity you produce to other people?
Yes, it is sometimes possible to sell surplus electricity to the national grid. For this, a special meter is required and certain administrative steps must be followed.
What maintenance is required for a home electricity production system?
Solar panels should be cleaned occasionally, cables should be checked, and the state of the batteries should be monitored. Regular maintenance helps the system last longer and remain efficient.
What should you do if your system does not produce enough electricity?
If production is too low, you can add more panels or install a wind turbine as a supplement. It is also important to adjust your energy consumption to not exceed what the system can provide.