
Installing a solar roof is an interesting way to produce your own electricity and reduce your bills. However, it is essential to fully understand the costs, potential profitability, and administrative procedures before embarking on this venture. This article guides you through the key aspects of a successful solar installation, from selecting equipment to available financial aid.
Key Takeaways
- The cost of a solar installation varies depending on the power output, type of fitting (overlay or integrated into the building), and quality of the equipment. Financial aid is available to reduce the initial investment.
- The profitability of a solar roof is on average between 10 and 15 years, with a lifespan of the panels exceeding 30 years, promising significant long-term savings.
- Administrative procedures include a prior declaration of works at the town hall and, potentially, consultation with the Architects of French Buildings for protected areas.
- The choice of installation type, between overlay (simpler and more ventilated) and integration into the building (more aesthetic but costly), as well as technical sizing, are crucial for efficiency.
- Professional support from RGE-certified installers is strongly recommended for feasibility studies, precise sizing, and compliant installation.
Understanding the Price of a Solar Roof
Installing a solar roof represents a significant investment, but it is essential to fully understand its components to assess its relevance. The overall cost depends on several factors, ranging from the chosen technology to the complexity of the installation.
Factors Influencing the Cost of a Photovoltaic Installation
Several elements determine the final price of your solar installation. The power of the installation, expressed in kilowatt-peak (kWp), is a major factor. The type of installation is also decisive: integration into the building (IAB) is generally more expensive than overlay. The quality of the equipment, including the panels and the inverter, also plays a role. Finally, the accessibility of the roof and the distance to the connection point can influence the cost of labour and ancillary works. It is important to consider that the production of a solar panel is influenced by its power and various factors such as location and orientation [17c1].
Average Cost of an Overlay Installation
Overlay installation involves fitting solar panels directly onto the existing roof covering. This method is often more economical as it avoids modifying the original roof. The average cost for such an installation is generally between €1,500 and €3,500 per kWp. This price includes the panels, inverter, mounting structure, and installation.
Cost of an Integrated Installation
Integration into the building (IAB) replaces the traditional roofing with solar elements, offering a more discreet aesthetic finish. This technique, although more expensive, also ensures the watertightness of the roof. Prices for an IAB installation typically range between €2,700 and €3,500 per kWp. Solar tiles, for example, can cost between €800 and €2,000 per square metre, depending on the model and brand, such as Edilians or Tesla [66a0].
It is important to note that these prices are averages and can vary considerably depending on the specifics of each project and the professionals chosen. Therefore, requesting multiple quotes is an essential step.
Assessing the Profitability of Your Solar Project
Once the technical and administrative aspects of your solar roof project are well understood, it is natural to turn to the financial side. How can you know if this investment will be profitable? Several elements come into play to calculate the return on investment and long-term benefits.
Average Payback Period
The time required for a solar installation to become profitable, meaning it has generated as much savings or revenue as it cost, varies. It depends on several factors, including the initial cost of the installation, the price of electricity you would otherwise have purchased from the grid, and any revenue from selling surplus electricity. On average, this period is often between 10 and 20 years. Good planning and choosing high-performance equipment can help reduce this period. It is important to consult specific analyses for your situation to obtain an accurate estimate, as each project is unique. Analysing the profitability of your solar project is a key step before you begin.
Lifespan and Long-Term Benefits of Solar Panels
Solar panels are designed to last. Most manufacturers offer 25-year performance warranties, but their useful lifespan can extend to 30 years or more. During this long period, they continue to produce electricity, thus reducing your energy bills. Beyond the simple initial return on investment, long-term benefits include increased energy independence and a positive contribution to the environment. Consider the impact this will have on your expenses over several decades.
Impact of Sunshine on Profitability
Sunshine is a determining factor for the electricity production of your solar panels. A region with high sunshine will naturally produce more electricity than a less sunny region, all other things being equal. This means that the same solar system will be more profitable in the south of France than in the north, for example. The orientation and tilt of your roof also play a major role in capturing solar energy. A personalised study of your site will allow for a precise assessment of the production potential and therefore the expected profitability. It is possible to consult sunshine maps for a general idea, but an on-site analysis remains essential for a reliable assessment. Guaranteed buy-back tariffs from EDF OA can also influence profitability, especially for installations over 9 kWp where the tariff is €0.0617 per kWh.
Here is a simplified table to illustrate the potential impact of sunshine:
| Region | Estimated Annual Production (kWh/kWp) | Estimated Payback Period (Years) |
|---|---|---|
| Southern France | 1400 – 1600 | 10 – 15 |
| Central France | 1100 – 1300 | 12 – 18 |
| Northern France | 900 – 1100 | 15 – 20 |
These figures are indicative and may vary depending on many other factors such as the quality of the panels, the presence of shading, or the price of electricity.
Administrative Procedures for a Successful Installation
Once you have confirmed the technical feasibility of your solar project, it is time to look at the regulatory aspects. These steps are essential for your installation to be compliant and operate legally. Do not neglect them, as they can impact the progress of your project.
Prior Declaration of Works at the Town Hall
Before anything else, you must submit a prior declaration of works to your town hall. This procedure allows the urban planning department to verify that your project complies with local regulations. This is a mandatory step for any solar panel installation, whether it is an overlay or integrated into the building. The file to be compiled generally includes location plans, site plans, photographs of the existing situation, and drawings of the future installation. The aim is to ensure that the external appearance of your house does not detract from the urban or architectural landscape of the municipality. You can find the necessary forms on your town hall’s website or directly from their services.
Consultation of the Architects of French Buildings
If your home is located within a protection zone of a historic monument, near a listed site, or in a conservation area, consultation with the Architects of French Buildings (ABF) will be required. Their role is to ensure the preservation of architectural and landscape heritage. They will issue an opinion on your project, which may be favourable, unfavourable, or subject to conditions. It is therefore important to anticipate this step, as their opinion can influence the design of your installation and potentially lead to modifications. Good communication with the urban planning services and the ABF from the beginning of the project can greatly facilitate this phase.
Application for Connection to the Electricity Grid
Once your solar panels are installed, they must be connected to the public electricity distribution network to be able to inject surplus production or consume the electricity produced. This procedure is carried out with Enedis, the network operator. The connection application must be submitted before the start of the installation work. Enedis will study your application and inform you of the technical and financial conditions for the connection. Once the installation work is completed, Enedis will commission your installation. This connection is a key step to fully benefit from your photovoltaic installation.
It is strongly recommended to seek assistance from an RGE (Reconnu Garant de l’Environnement) certified professional for all these administrative procedures. They can guide you, prepare the files, and ensure that everything is in order, saving you time and money on costly mistakes.
Choosing the Right Type of Solar Installation
For a successful solar installation, choosing the right type of system is a decisive step. There are several options, each with its advantages and specificities, suited to different needs and roof configurations.
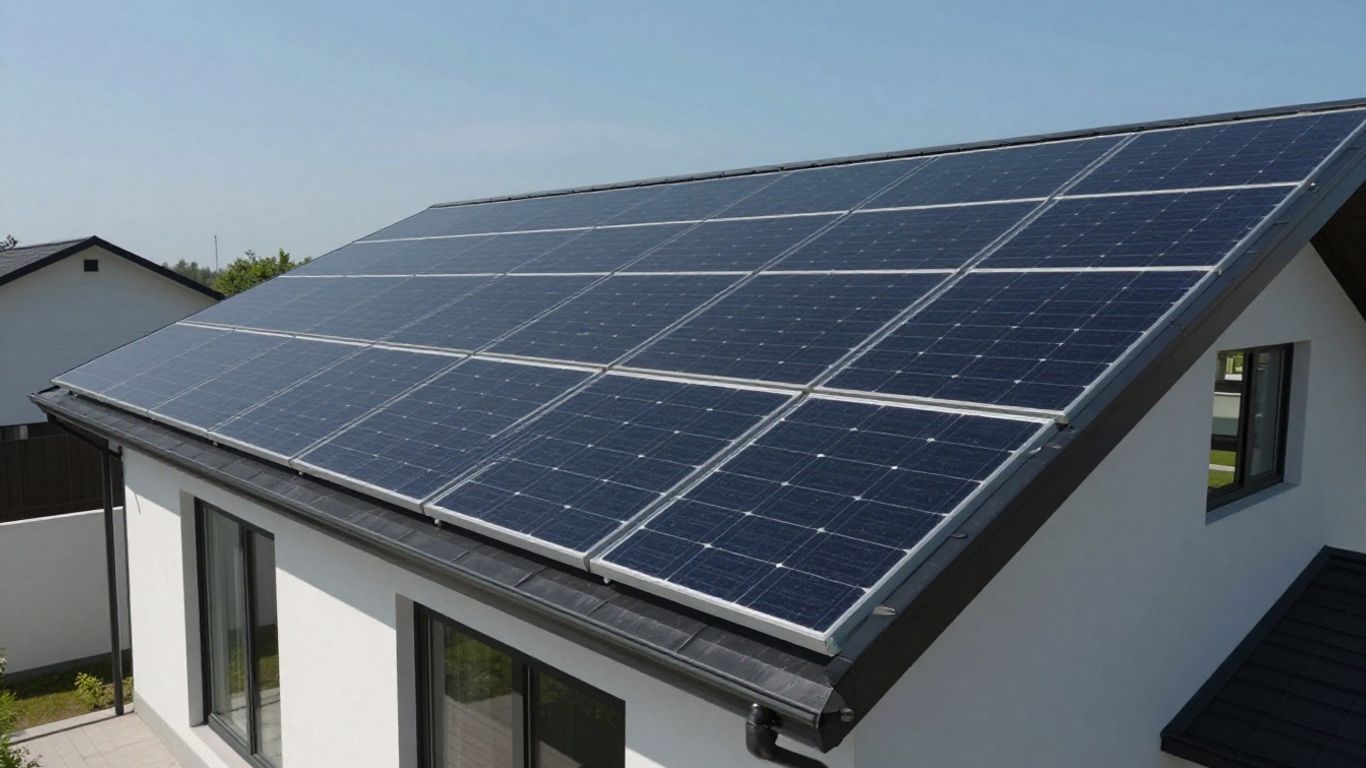
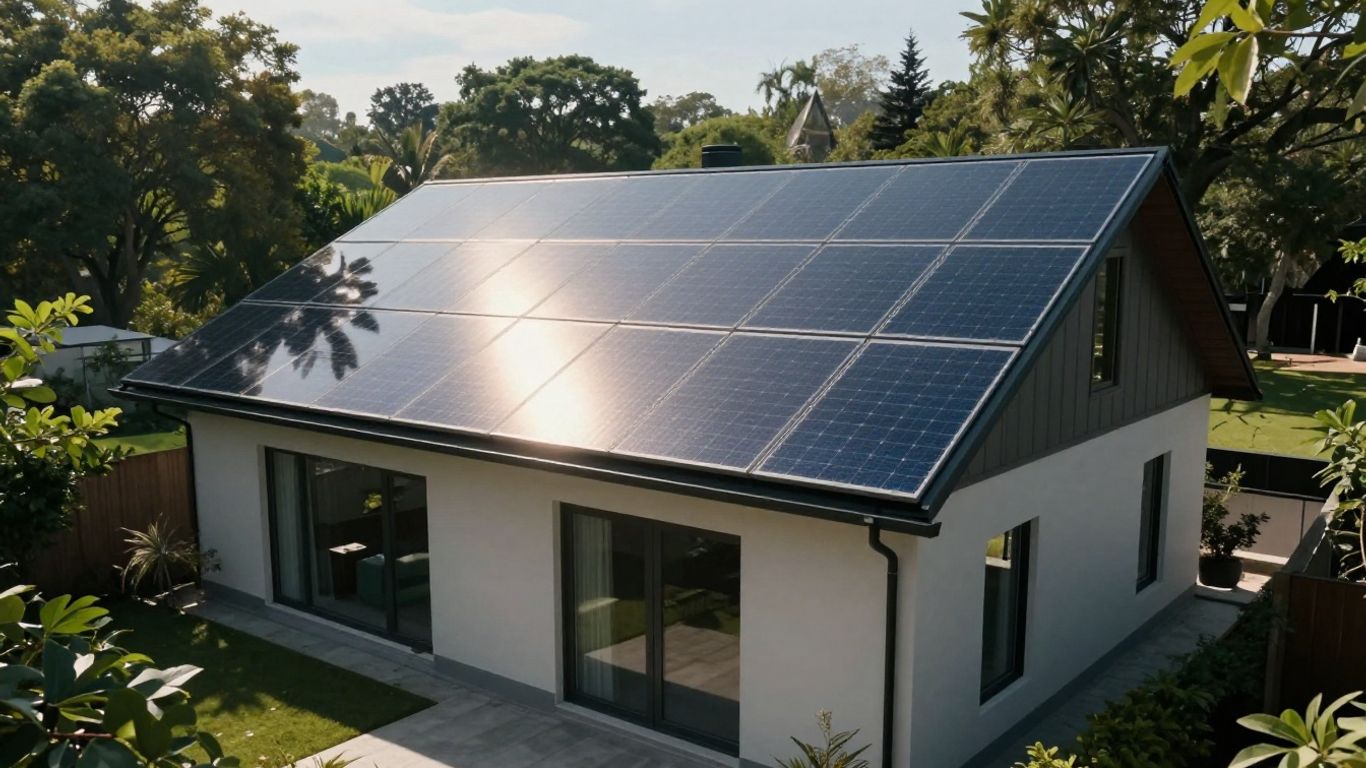
Overlay: Simplicity and Ventilation
Overlay installation involves fitting solar panels directly onto the existing covering of your roof. This method has the advantage of preserving the watertightness of your original roof, as the panels are not directly integrated into the covering. The work is generally quick, often completed in a day, especially if roof access is easy. This technique also allows for better air circulation under the panels, which contributes to their good performance and longevity.
Integration into the Building: Aesthetics and Cost
Integration into the building (IAB) aims to replace traditional roofing elements with photovoltaic elements. The panels then become an integral part of the roof. This solution offers a more discreet and harmonious aesthetic finish, particularly appreciated in areas where visual appearance is regulated. However, IAB is often more expensive to install and may have slightly lower performance compared to an overlay installation of equivalent surface area. It also requires more in-depth expertise during installation to ensure watertightness.
Plug & Play Solar Kits for Smaller Budgets
For those with a more limited budget or who want a simpler solution to start with self-consumption, plug & play solar kits represent an interesting alternative. These systems, often consisting of one or two panels and a micro-inverter, plug directly into a standard electrical socket. They allow you to produce a portion of your electricity consumption at a lower cost. Although their power output is more modest, they are an excellent entry point into the world of solar energy.
The choice of installation type will therefore depend on your priorities: budget, aesthetics, complexity of work, and type of existing roof.
Technical Criteria for an Optimal Solar Roof
For your solar panel project to be a success, several technical aspects need attention. It’s not just about fitting panels; you need to ensure your roof is ready and the installation is done under the best conditions.
Assessing Roof Surface Area and Solidity
First and foremost, it is essential to check the general condition of your roof. A roof must be in good condition to support the weight of the solar panels and withstand the weather for many years. If your roof is old or shows signs of weakness, renovation may be necessary before installation. The available surface area is also a key factor: the more clear surface you have, the more panels you can install, and therefore produce more electricity. Allow approximately 1.60 m wide by 1 metre high for a standard panel, not forgetting the necessary spaces between each row to avoid shading.
Importance of Roof Orientation and Tilt
The orientation and tilt of your roof play a major role in the performance of your solar installation. Ideally, a south-facing orientation is the most favourable for capturing maximum sunlight throughout the day. However, a south-east or south-west orientation can also yield good results. As for the tilt, a slope of around 30 to 35 degrees is often considered optimal in most regions of France. This allows the panels to receive sunlight directly and also aids self-cleaning by rain, washing away dust and debris. If your roof has a different tilt, technical solutions exist to adjust the panel angle, but this may incur additional costs. A south-facing orientation is the most sensible choice to maximise energy production [cb27].
Sizing the Photovoltaic Installation
The sizing of your installation will depend on several factors: your annual electricity consumption, the available roof surface area, your budget, and your objectives (total self-consumption, sale of surplus, etc.). A professional can help you calculate the required power (in kilowatt-peak, kWp) to meet your needs. For example, a family consuming an average of 4500 kWh per year might need an installation of around 3 kWp. It is important not to oversize the installation, as electricity that is not consumed and not sold would be lost. Proper sizing ensures a balance between production and consumption, thus optimising the profitability of your project.
Financial Aid to Reduce Initial Investment
Installing a solar roof represents an investment, that’s true. Fortunately, several schemes exist to lighten this initial expense and make your project more accessible. This aid aims to encourage the use of renewable energy and accelerate the return on investment of your installation.
Self-Consumption Bonus
This bonus is intended to support households that choose to produce their own electricity for consumption, with or without selling the surplus. Its amount is calculated based on the power of your installation, expressed in kilowatt-peak (kWp). The rates are set by the government and may be revised. For installations with a power output of less than 9 kWp, the bonus is paid in a single instalment. If your installation exceeds this threshold, payment is spread over five years.
Guaranteed Buy-Back Tariffs from EDF OA
If you decide to sell the electricity you do not consume, EDF Obligation d’Achat (EDF OA) commits to buying it back from you at a fixed rate. This contract is established for a period of 20 years, offering you long-term revenue visibility. This mechanism allows you to value the excess energy produced by your panels.
Local Subsidies and Tax Incentives
Beyond national aid, inquire with your local town hall or regional council. Some local authorities offer specific subsidies for solar panel installation, which can sometimes be combined with other aid, although this is not always the case. Furthermore, tax benefits are often available. This may include a reduced VAT rate, for example 5.5% or 10% depending on the case, for the purchase and installation of equipment. Exemption from property tax on built properties for new installations is also a common measure that reduces your tax burden.
It is important to thoroughly research the eligibility criteria for each aid scheme, as they can vary and evolve. A proactive approach to seeking out these schemes can significantly reduce the overall cost of your solar project.
The Importance of Professional Support
For a solar installation project, surrounding yourself with the right people makes a real difference. It’s a technical field, and having someone who knows the subject well can save you a lot of hassle. Think of it like repairing your car: you can watch tutorials, but without the right tools and know-how, you risk doing more damage than repairs.
The Role of the Solar Expert in Your Project
A solar expert acts as your guide throughout the process. They are there to answer all your questions, whether they concern choosing the most suitable equipment for your situation, the various financial aids you may be eligible for, or helping you find qualified installers. They help you see clearly in a field where information can be complex.
- Initial Roof Assessment: The expert begins by checking if your roof is suitable. They look at its surface area, its solidity, and its general condition. A roof must be in good condition to support the weight of the panels for years.
- Analysis of Sunshine Conditions: The orientation (ideally south) and tilt of your roof are studied to maximise energy production. Even if your roof isn’t perfect, the expert can often propose solutions.
- Sizing the Installation: Based on your energy needs and your roof’s characteristics, the expert calculates the necessary power for your photovoltaic system. This avoids installing a system that is too small or too large.
Support from a professional ensures that the installation will not only be efficient but also compliant with current standards and optimised for your specific home.
Selecting RGE-Certified Installers
Finding a good installer is a key step. RGE (Reconnu Garant de l’Environnement) certification is a mark of quality. It attests that the company adheres to strict specifications for energy efficiency work. Using an RGE professional is often a condition for receiving certain government financial aid. The solar expert can help you identify these professionals in your area and verify their qualifications.
Benefiting from a Personalised Solar Assessment
Every house is different, and therefore every solar project must be too. A personalised solar assessment, carried out by an expert, takes into account all the specific elements of your situation: your current electricity consumption, your roof’s configuration, your budget, and your objectives. This assessment results in a concrete proposal, often in the form of a preliminary quote, which details:
- The recommended power in kWp.
- The number of solar panels required.
- The estimated total cost of the installation (equipment, fitting, administrative procedures).
- Applicable financial aid.
- A projection of energy production and achievable savings.
This document gives you a clear overview of your project before even starting the work.
Key Steps for an Efficient Solar Installation
Once your solar panel project is well underway, it’s time to make it a reality. Each phase is important to ensure your installation is robust, efficient, and ultimately profitable. Here’s how to turn your desire to produce your own electricity into reality, step by step.
Before even thinking about reducing your electricity bills, you need to ensure your roof is suitable for solar panel installation. This is the first, fundamental step. First, we check if the surface area is sufficient and if the roof structure is strong enough to support the weight of the panels and their fixings throughout their lifespan, which can exceed 30 years. The roof must be in good general condition. Then, orientation and tilt play a role. The ideal is a south-facing orientation, but this is not always possible. What must absolutely be avoided is a north-facing orientation. For the tilt, a slope of around 35° is generally favourable for electricity production. If your roof doesn’t perfectly meet these criteria, don’t panic, solutions often exist. You need to discuss this with your solar advisor.
Once your roof has passed the technical inspection, the serious work begins. Experts will calculate the installation’s power to precisely meet your energy needs, without waste or insufficiency. They will then determine the ideal placement of your panels to ensure maximum production throughout the year. At this stage, the preliminary quote takes shape. This document details all aspects of the project:
- The power in kWp (kilowatt-peak)
- The number of panels required
- The total cost of the installation (equipment, labour, administrative procedures)
- The technical specifications of the equipment
- The financial aid you may be eligible for
This preliminary quote is a crucial step for a clear understanding of the investment and expected benefits. It allows you to compare offers and ensure the project meets your expectations.
It’s time to take action! Panels are generally fitted onto your roof as an overlay, which preserves the watertightness of your existing covering. The work duration is often short, not exceeding one day, and is even frequently completed in half a day, especially if roof access is easy. Once the panels are installed, they need to be connected to the public grid. This step involves an application to Enedis, the electricity grid operator. After connection, a production test is carried out to verify that everything is working perfectly. And there you have it, your panels are operational and ready to produce your own electricity. For optimal management of the energy produced, adding a solar battery can be considered.
Ensuring the Longevity of Your Solar Installation
Once your photovoltaic system is installed, it is important to think about its longevity so that it continues to produce electricity optimally in the long term. This involves a few key steps, from regular maintenance to warranties that protect your investment.
Annual Maintenance of Solar Panels
Maintenance of solar panels is generally quite simple and inexpensive. It mainly involves ensuring they remain clean to best capture sunlight. Cleaning once or twice a year is often enough to remove dust, dead leaves, or snow that might accumulate and reduce their efficiency. There are no complex maintenance costs to anticipate, just a small gesture to maintain performance. Remember to check the general condition of the fixings and cables during these interventions.
Mandatory Guarantees for the Installer and Producer
Your solar installation is covered by several types of warranties. There is first the ten-year warranty (garantie décennale) which covers significant damage to the installation structure for ten years. Then, the panels themselves benefit from material warranties, often between 15 and 25 years, and performance warranties that guarantee a certain level of production over a similar or longer period. It is important to fully understand these warranties when signing the contract to know what is covered and for how long. These protections are there to reassure you about the durability of your investment.
Integrating the Installation into Your Home Insurance
It is essential to declare your new solar installation to your insurer. Most home insurance policies cover photovoltaic installations, but it is best to check the specific terms and conditions. This ensures that your system is adequately covered in the event of a claim, such as damage caused by a storm or fire. A prior declaration avoids any unpleasant surprises and guarantees that your investment is protected in the same way as the rest of your home. Don’t forget to request a personalised insurance quote after installation.
Understanding the Specifics of Solar Roofs
Different Types of Compatible Coverings
Solar panel installation is not limited to traditional roofs. Many coverings can accommodate photovoltaic systems, each with its own particularities. Tiled roofs, whether mechanical or flat, as well as slate roofs, are generally well-suited. Zinc or wooden roofs can also be used, although their preparation may require specific adjustments. It is important to note that some coverings, such as shingles or thatch, can make installation more complex, especially if the aim is integration into the building. The goal is to ensure that the structure can support the weight of the panels and that the surface allows for safe and efficient fitting. For maximum optimisation, a south orientation with a tilt of around 30 degrees is often recommended, although adjustments are possible depending on the roof configuration [f7c1].
Constraints Related to Asbestos Roofs
A major point of concern relates to roofs containing asbestos, often found on older buildings (hangars, garages, etc., built before 1997). The presence of asbestos imposes strict regulatory and health constraints. Before any installation, an asbestos survey is essential. If asbestos is detected, an asbestos removal procedure by certified professionals must be carried out before solar panels can be considered for installation. Ignoring this step can lead to serious health risks and legal sanctions. It is therefore crucial to check the composition of your roof if it dates from that period.
Discreet Integration into the Urban Landscape
The aesthetics of solar installations have evolved significantly. Beyond classic panels, there are now solutions such as solar tiles or photovoltaic slates. These elements mimic the appearance of traditional roofing materials while integrating solar cells. They are particularly appreciated in protected areas or for historic buildings where architectural integrity is a priority. Although their cost is generally higher and their performance slightly lower than standard panels of equivalent surface area, they offer remarkable visual integration. The aim is to combine green energy production with architectural harmony, making solar energy more acceptable in sensitive environments. The choice between overlay and integration into the building will depend on your aesthetic and budgetary priorities. To maximise production, good orientation and tilt remain key factors [223c].
Solar roofs have unique characteristics that are good to know. They transform your roof into a source of clean and economical energy. To learn more about these unique aspects and how they can benefit you, explore our website today!
An Investment for the Future
Installing solar panels on your roof is a thoughtful decision, combining energy savings and a contribution to a healthier environment. Although the initial investment may seem significant, the available financial aid, the longevity of the installations, and the savings realised on your electricity bills make it a profitable project in the long term. Good preparation, a thorough feasibility study, and choosing a qualified installer are the keys to ensuring the success of your project and fully enjoying the benefits of solar energy. It is a concrete step towards greater energy autonomy and a more sustainable future.
Frequently Asked Questions
What is the average cost to install solar panels on my roof?
The price of a solar installation depends on several things. There’s the type of panels, their power, and whether they are fitted just above the roof (overlay) or integrated into it (integrated into the building). Generally, overlay is cheaper. To give you an idea, it can range from €1,500 to over €3,500 per kilowatt-peak (kWp).
How long does it take for my solar installation to become profitable?
On average, a solar installation becomes profitable between 10 and 15 years. As the panels can operate for over 30 years, this means you will make significant savings on your electricity bills over a long period.
What are the administrative procedures for installing solar panels?
Before starting, you need to submit an application to the town hall (prior declaration of works). If your house is in a special zone (near a historic monument, for example), you will also need to seek the opinion of the Architects of French Buildings. You will also need to apply to connect your installation to the electricity grid with Enedis.
Is there any financial aid to help me pay for my solar installation?
Yes, there are several aids! There’s the self-consumption bonus, tariffs that guarantee the purchase of your electricity by EDF, and sometimes local aid or tax reductions. These aids can really help reduce the initial cost.
On what type of roof can solar panels be installed?
Solar panels can be installed on most roofs: tiled, slate, wood, or zinc roofs. However, it’s more complicated on shingle or thatched roofs. You also need to ensure there is no asbestos in the roof, especially for older constructions.
Does regular maintenance need to be done for solar panels?
Yes, a little maintenance is recommended so that your panels produce the maximum amount of electricity. It is generally sufficient to clean them once a year to remove dust or leaves. You can do it yourself or call a professional if it’s easier.
What is the difference between an overlay installation and integration into the building?
Overlay is when panels are fitted just above your existing roof. It’s simpler and cheaper. Integration into the building is when the panels replace part of your roof covering. It’s more aesthetically pleasing but also more expensive and can slightly reduce ventilation.
What if my roof is not perfectly south-facing or not tilted enough?
Don’t panic! Even if a south orientation and a tilt of around 35° are ideal, there are often solutions. You should avoid north-facing, but a south-east or south-west orientation works well. Discuss it with an expert; they can tell you what is possible to optimise your installation.